HOW TO PROOF ACTIVE DRY YEAST LIKE A PRO
December 4, 2024

What is Yeast Proofing?
Yeast proofing is the process of activating yeast for baking using water and a small amount of sugar. Doing this separately from the actual baking process helps you ensure that your yeast is working and active. This is so you do not waste all those valuable ingredients you are baking with if the yeast doesn’t activate.
When the yeast begins eating the sugar and water it starts to release carbon dioxide. The carbon dioxide is what creates air pockets in the dough to give it a light, fluffy, smooth and consistent texture when finished baking. The yeast doesn’t only help with the rising of the dough but also its flavor development. This is where you get that well known starchy flavor, the longer the yeast ferments the stronger the flavor will be.
Bloom: This is the process of hydrating yeast in water to activate it. The term “blooming” refers to the yeast “waking up” as it begins to bubble and ferment.
Yeast Proofing: Is the test to see if the yeast is viable and alive, which means it is able to help the dough rise. This is typically done by seeing in if the yeast will bloom when placed in water.
Dough Proofing: The word “proof” can also be used in terms of the dough rising after the yeast is mixed into it.
Active Yeast: This refers to any yeast that is capable of leavening (rising) dough. This includes active dry yeast and fresh yeast. Fresh yeast can be bought or made through a process called fermentation through creating a sour dough starter.
Activated Yeast: This refers to yeast that has already gone through the blooming process and is ready to be used in a recipe.
Instant Yeast: This form of yeast doesn’t require blooming before use. This is because the size of the yeast granules are smaller and enzymes are added to quicken the dough rising process.
Common Mistakes
1. Not Acounting for Elevation
If you are in a region of 3,000 or more feet above sea level proof time will need to be altered. This is because the higher the altitude you are the lower the air pressure which means the carbon dioxide has more room to expand, and will do so faster. This means that yeast will be ready faster and will need to be used faster to ensure that it is still active to help the dough rise.
2. Using Expired Yeast
Yeast needs to be fresh, if it is not it will not proof correctly. Before you use yeast in a recipe check the bag and make sure that it is not expired. You also need to store the yeast correctly. Before opening keep the yeast in a cool dry place and after opening store it in the fridge.
3. Water Temperature of Quality
The temperature of the water is crucial to the yeast activating correctly. Heating the water to about 110°F ensures the yeast doesn’t get too hot or too cold. If the yeast is too cold it will not activate and the dough will not rise. If the water is too hot it can kill the yeast and again the dough will not rise. The temperature of the room can also effect the proofing of the yeast, so make sure the room is between 68-80°F.
4. Using Salt or Sugar
Yeast uses sugar as a quick source of energy for growth and fermentation. Fermentation is the process of converting sugars into carbon dioxide and alcohol. The carbon dioxide being produced is what allows the yeast and the dough to rise. The yeast might still activate without sugar, by eating the natural sugars in the starch of the flour, when incorporated into the dough. If done this way the dough will not proof as quickly, and in the end your finished product might not have risen as much as it would have with sugar added. Though do make certain you do not add too much sugar because that will overwhelm the yeast.
Salt is an important ingredient in dough making for flavor and structure. Though salt can inhibit the growth and activation of yeast if added too early. Typically in a recipe they will advice you to mix the salt in with the flour for even distribution and then adding in the yeast after it has been activated in water.
5. Size of the Container
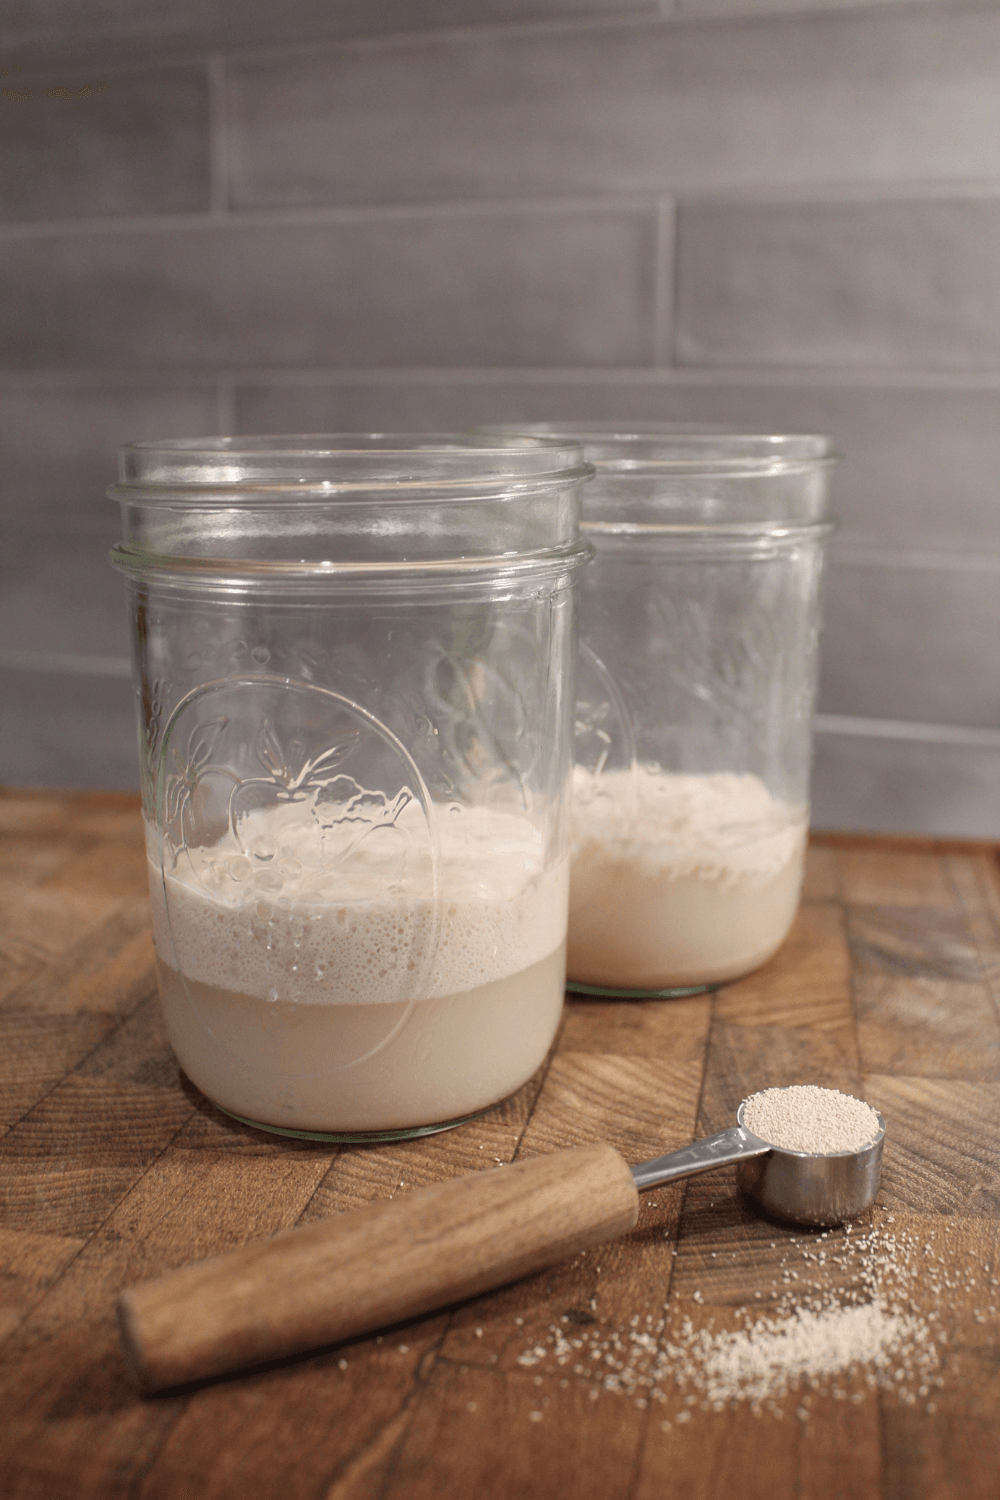
The size of the container needs to be big enough to allow the yeast to grow. If you dont the yeast might overflow onto the counter. I would also recommend using a clear container like a mason jar so you can observe the progress of the proofing.
6. When to Use Yeast
If sitting too long the yeasts activation will slow and the yeast will no longer work to help the dough rise. To guarantee this will not happen make sure to use it within 10-15 mins after it is ready.

Explore some of my favorite recommended products to support your health journey (displayed on this page as affiliate links), and remember to always consult a healthcare professional before making any changes to your diet or lifestyle—full medical disclaimer here.


Proofing Active Yeast
Mikayla AthenaEQUITMENT
- Mason Jar or similar container
INGREDIENTS
- 1/2 cup water at 110°F filtered preferred
- 2 1/4 tsp active dry yeast
- a pea-sized drop of honey
DIRECTIONS
- Place water and honey into a container and heat up to 110°F.1/2 cup water at 110°F,a pea-sized drop of honey
- Check the water and make sure that it feels warm but not hot to the touch (by doing this you might not even need a thermometer).
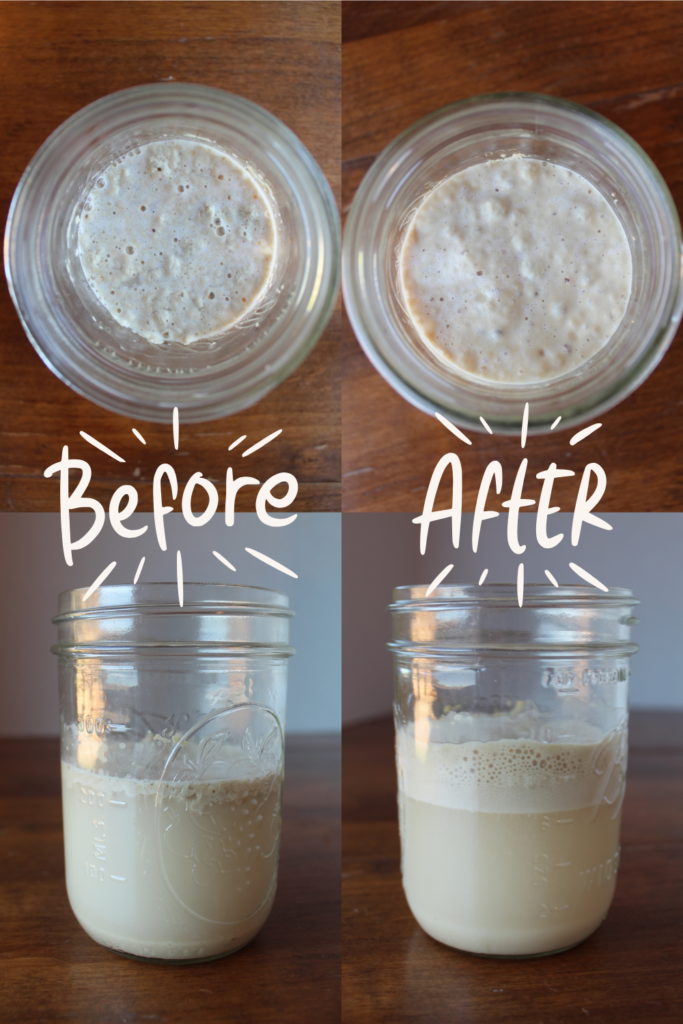
- Pour in active dry yeast and gently mix into the water mixture. Allow yeast 10 minutes to rise.2 1/4 tsp active dry yeast
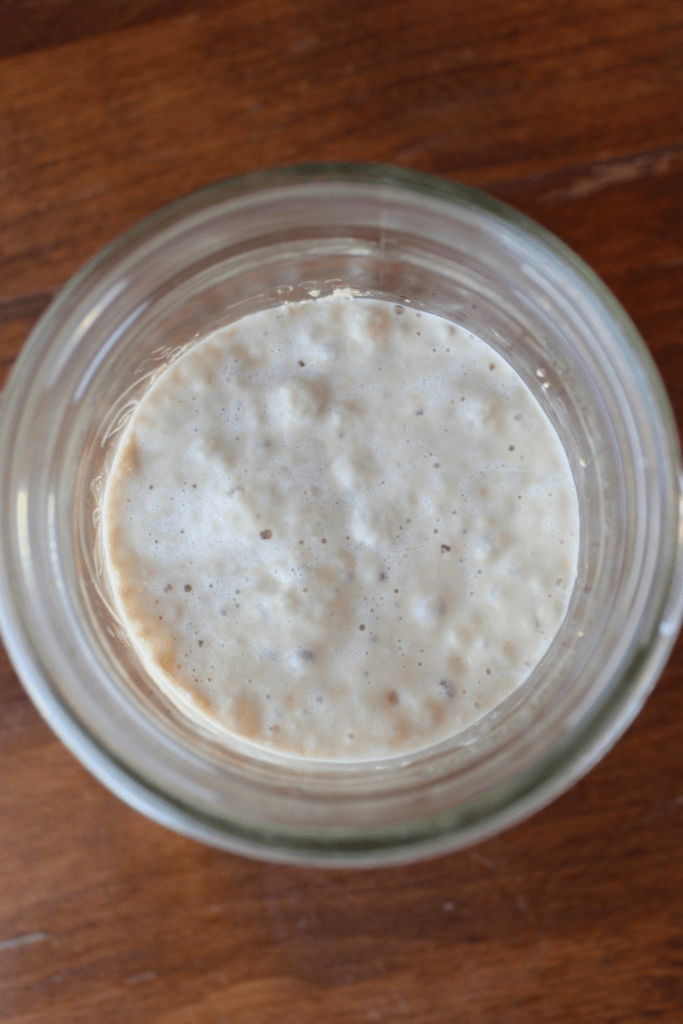
- After 5-10 minutes the yeast should have started to bubble and foam up. Enjoy!
NOTES
NUTRITION

