OAT MILK
January 29, 2025
I was genuinely surprised when I first made oat milk at home—it’s so easy! With just oats, water, and a quick blend, you get a creamy, smooth milk alternative in minutes. No weird additives, no unnecessary thickeners—just pure, wholesome ingredients. Making it myself not only saves money but also lets me control the texture and flavor. Whether I want it thicker for coffee or lighter for oatmeal, I can adjust it easily. If you’ve never tried making oat milk, you’ll be amazed at how effortless and rewarding it is!
Did you know?
Store-bought oat milk often contains oils, gums, and preservatives to extend shelf life, but homemade oat milk is fresh and simple. Plus, oats are packed with fiber, antioxidants, and heart-healthy beta-glucans, making them a fantastic addition to any diet.

Contents
Ingredients
Oats: Rolled oats are the best choice for making oat milk because they blend easily and create a smooth texture. Quick oats can also work, but they may change the consistency slightly. Avoid steel-cut oats, as they are too firm and won’t break down well in blending.
Water: Using clean, cold and filtered water enhances the taste and texture of the oat milk. Cold water helps reduce the chances of a slimy texture in your finished product.
Variations
Optional Add-Ins
Enhance the flavor of your oat milk with these optional ingredients:
- Maple Syrup – Adds natural sweetness and a hint of caramel-like flavor. If you choose to add this in just make sure it is 100% maple syrup.
- Vanilla Extract – Gives a warm, aromatic touch that complements the oats.
- Salt – A small pinch enhances the overall taste and balances the sweetness.
Adjusting Thickness
The oat-to-water ratio determines the consistency of your oat milk:
- For a thinner milk – Use more water (1 cup oats to 4 cups water).
- For a creamier texture – Reduce the water slightly (1 cup oats to 3 cups water).
- For extra-thick oat milk – Use even less water, making it ideal for coffee creamers or smoothies.

Don't skip the rinse
Rinsing the oats before blending helps remove excess starch, which prevents your oat milk from becoming too thick or slimy. This quick step ensures a smoother, creamier texture for your homemade oat milk.
How to Make Oat Milk
1. Measure Ingredients
Start by measuring your ingredients. The standard ratio is 1 cup of rolled oats to 4 cups of water, though adjust depending on how thick you want your oat milk. You can also prepare optional add-ins like maple syrup for sweetness, vanilla extract for flavor, or a pinch of salt to enhance the taste. Having everything ready makes the process quick and efficient.
2. Rinse Oats
Place your oats in a fine-mesh sieve or a bowl and rinse them under cold running water for about 10-15 seconds. This helps remove excess starch, which can make the milk too thick or slimy. Be careful not to soak the oats, as this can lead to an undesirable texture. A quick rinse is all that’s needed to improve the final consistency.
3. Blend Together
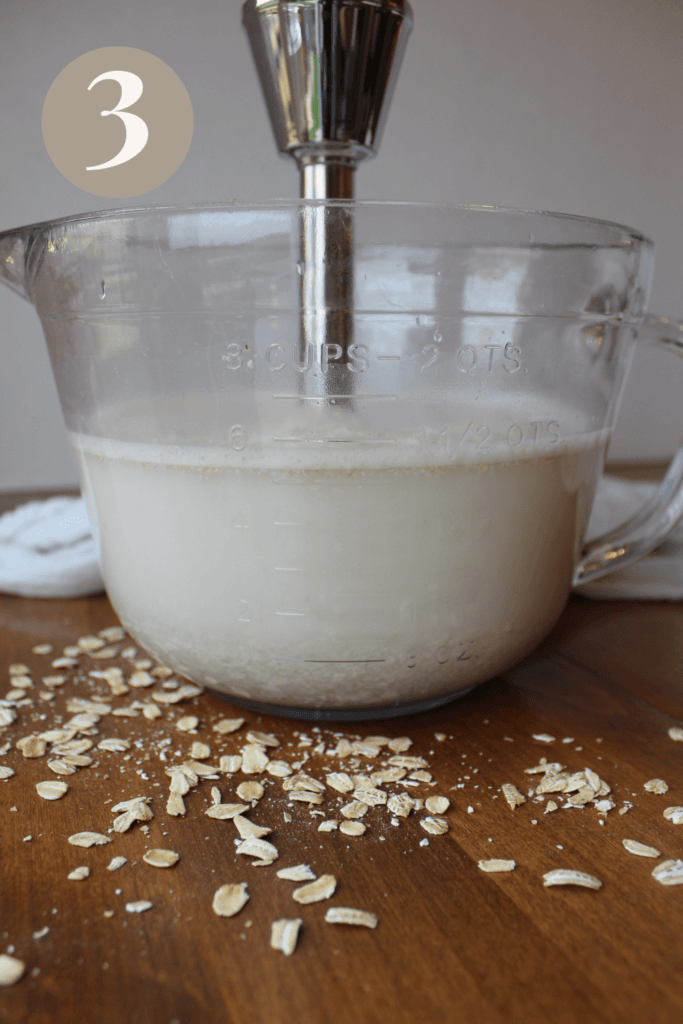
Combine the rinsed oats and fresh filtered water in a large bowl. If you’re adding any optional ingredients, like maple syrup, vanilla, or salt, include them now. Blend using an immersion blender on high speed for about 20-30 seconds—just enough to break down the oats without over-processing, which can lead to a gummy texture.
4. Strain
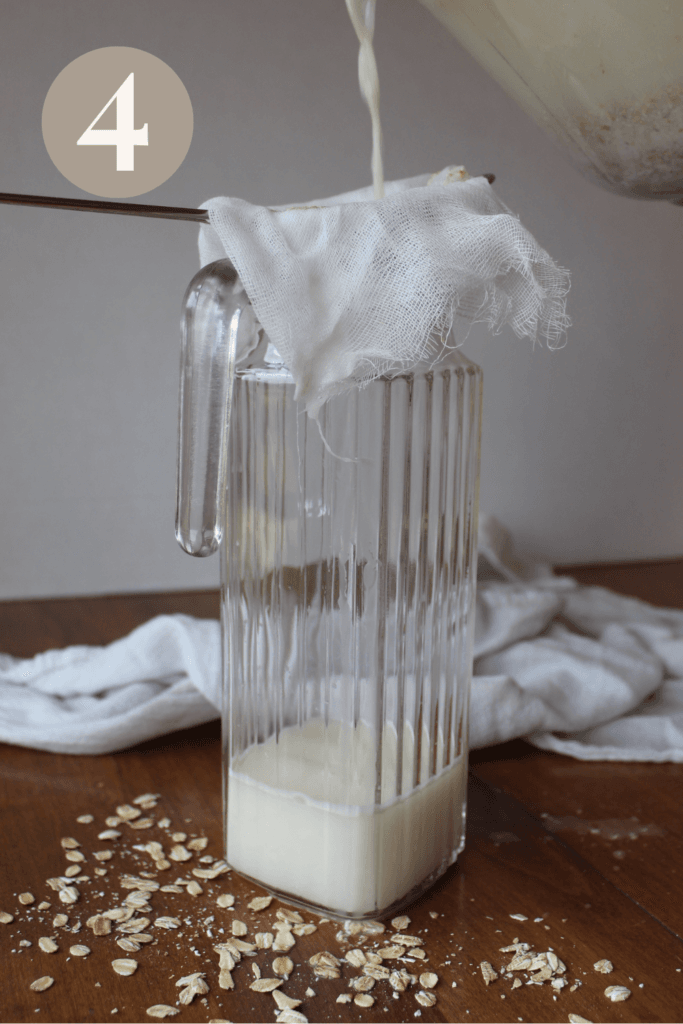
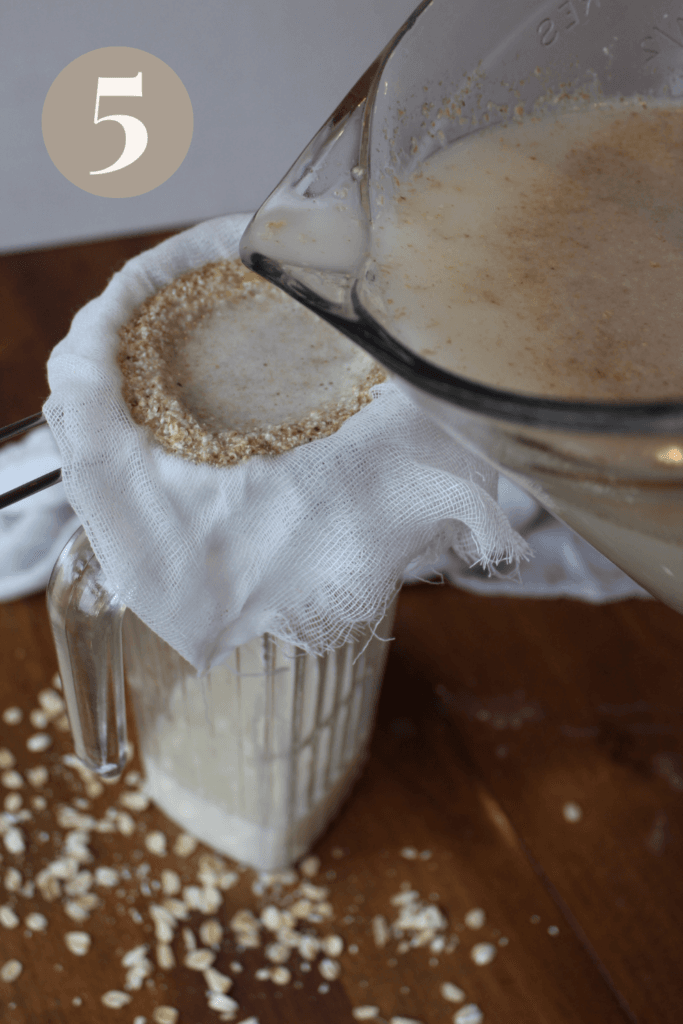
For a smooth, pulp-free oat milk, pour the blended mixture through a nut milk bag, a fine-mesh strainer, or a clean kitchen cloth into a large bowl or container. Avoid pressing or squeezing the pulp too much, as this can release extra starch, making the milk slimier.
5. Storage & Freshness
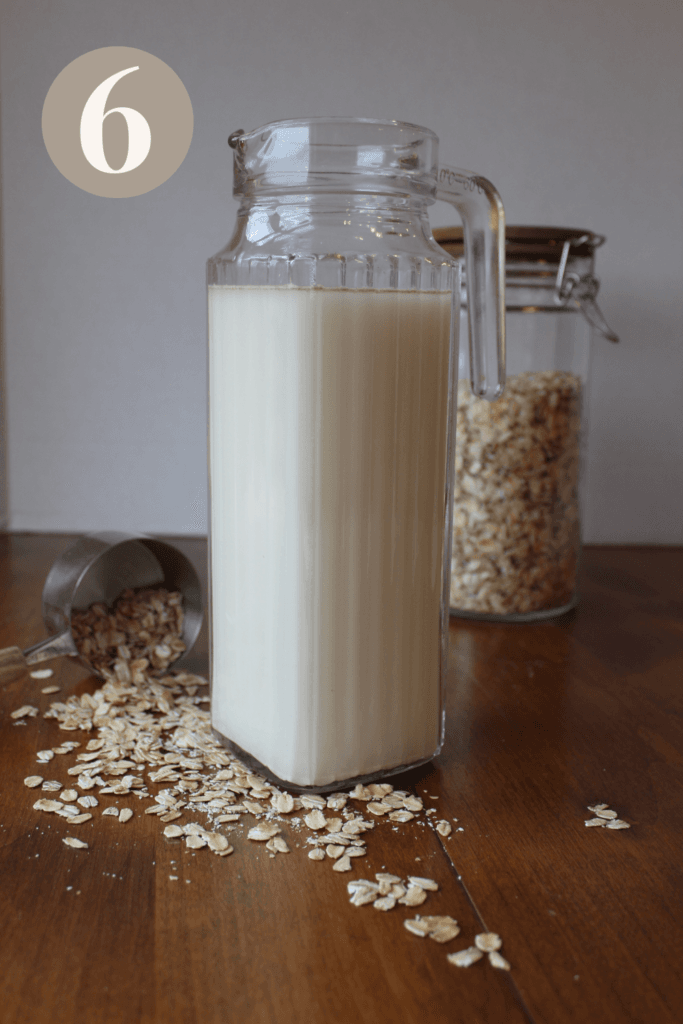
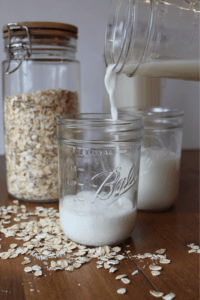
Transfer your oat milk to an airtight bottle or jar and store it in the refrigerator for up to 4-5 days. Since homemade oat milk lacks preservatives, it naturally separates over time—just shake well before each use. Use it in coffee, smoothies, cereals, or any recipe that calls for dairy-free milk.
Serving Suggestions
Use it in coffee, smoothies, cereals, or any recipe that calls for dairy-free milk.
Tips & Troubleshooting
Gummy or Slimy Texture: Always rinse the oats before blending to remove excess starch. Though if your oat milk turns slimy, try blending for a shorter time, and make sure you rinse the oats thoroughly.
Too Thin or Watery Milk: If your milk is too thin, simply blend in a bit more oats or next time reduce the water for a thicker consistency.
Oat Milk Separating: Shake the milk before each use, as natural separation is normal. If the separation is extreme, reduce the blending time or strain more thoroughly to remove excess pulp.
Grainy Texture: If your oat milk comes out grainy, your filter might not have had a tight enough weave. try straining it through a finer mesh or nut milk bag. If your oat milk is still grainy, next time blend on high speed for at least 30 seconds to ensure smoothness.
Flavor Too Plain: Add flavor boosters like maple syrup, vanilla extract, or a pinch of salt for a sweeter or more balanced taste.
Health Benefits of this Recipe
Oat milk is a nutritious, plant-based beverage that provides several essential vitamins and minerals, many of which are fortified during production. It is a good source of calcium, which is crucial for bone health, muscle function, and nerve transmission. Vitamin D helps the body absorb calcium, supporting bone density and immune function. Vitamin B12 is important for red blood cell production, nerve function, and energy metabolism. Vitamin A supports eye health, immune function, and skin health, while Vitamin E acts as a powerful antioxidant that protects cells from oxidative damage and promotes healthy skin. Iron in oat milk is vital for oxygen transport in the blood, preventing anemia and supporting energy levels. The fiber, particularly beta-glucan, helps regulate blood sugar, lower cholesterol, and improve digestive health. Potassium supports heart health by regulating blood pressure, and magnesium contributes to energy production, muscle function, and bone health, while also helping to regulate blood sugar and blood pressure. Fortified oat milk is a valuable addition to a balanced diet, especially for those who are vegan or dairy-free. Learn More
Made With a Bowl & Strainer


Made with a MYLK Master
Using the MYLK Master has made preparing my weekly batch of oat milk easier and quicker. It cuts the time in half compared to traditional methods and is much more affordable than expensive milk-making appliances that can cost hundreds of dollars.
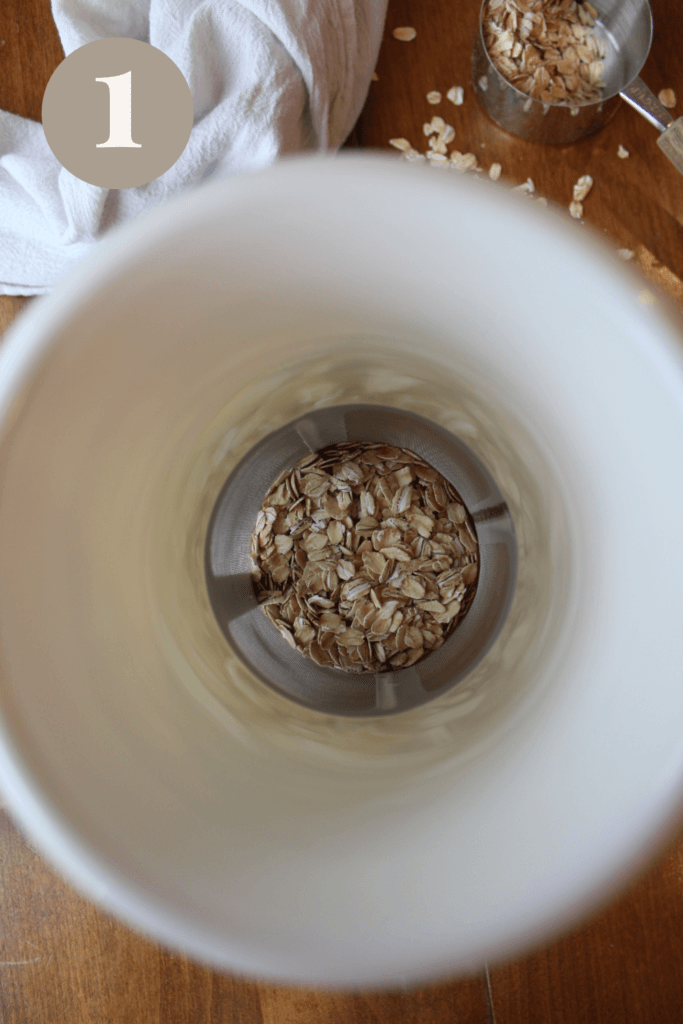
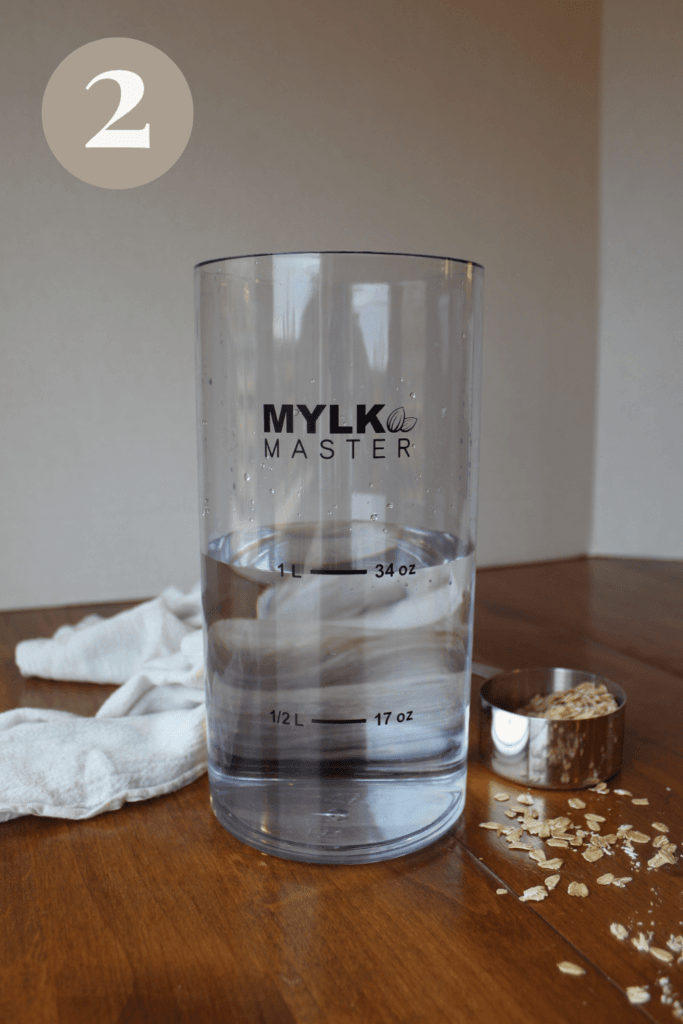
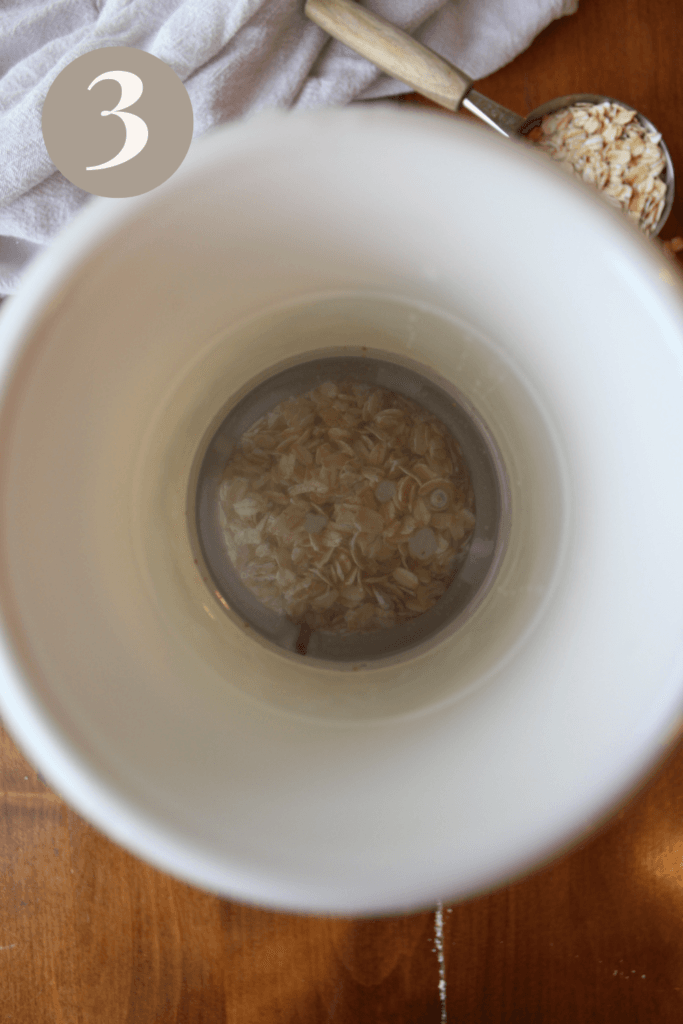
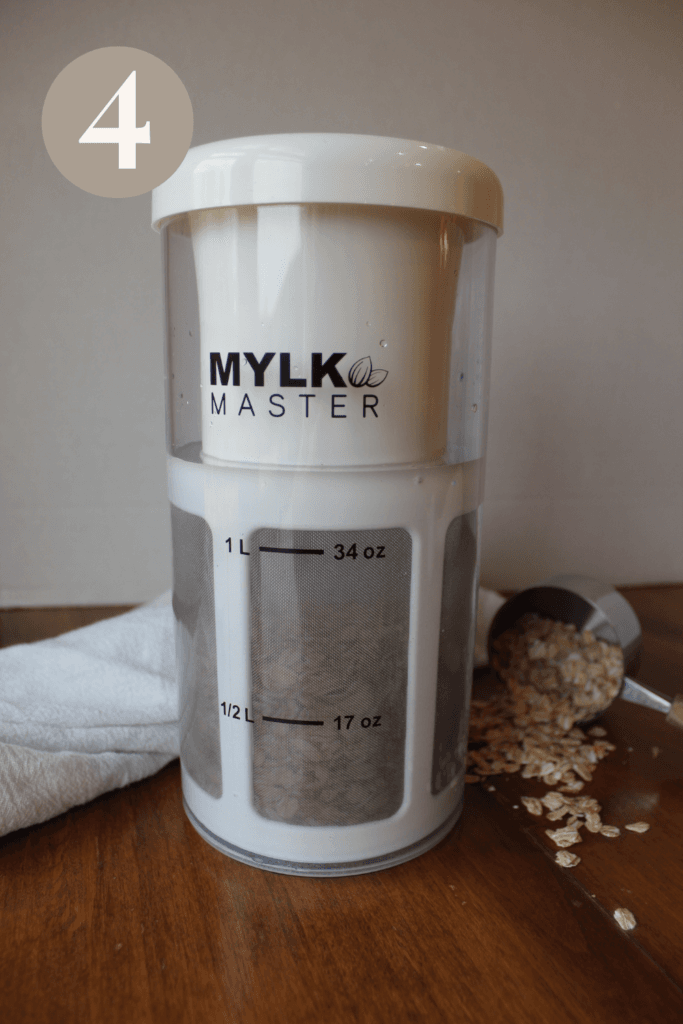
Instead of the traditional steps below, fill the basin with cold water up to the second mark. Add 1 cup of oats to the mesh strainer and rinse them. Place the strainer in the basin, then blend with an immersion blender. Use the plunger to gently strain, remove the filter, and store the oat milk.
Explore some of my favorite recommended products to support your health journey (displayed on this page as affiliate links), and remember to always consult a healthcare professional before making any changes to your diet or lifestyle—full medical disclaimer here.

Oat Milk
Mikayla AthenaEQUITMENT
- MYLK Maker optional
- Large Bowl with spout
- Cheese Cloth
- Mesh Strainer
INGREDIENTS
- 1 cup rolled oats gluten-free
- 4 cup water (*see note) cold & filtered
Optional Add-Ins
- 1 tbsp maple syrup 100%
- 1 tsp vanilla extract
- 1 pinch salt
DIRECTIONS
- Rinse oats in a fine mesh strainer for 10-15 seconds (**see note). Place oats and water in a bowl along with any other optional add-ins you would like to add. Blend with an immersion blender for approximately 20-30 seconds but no more (***see note).
- Put a fine mesh strainer on top of a large bowl then a cheese cloth on top of the strainer (a milk bag would also work). To strain oat milk mixture, pour over cheese cloth and mesh strainer.
- Transfer oat milk to a sealed container, store in the fridge and shake well before use. Enjoy!
